Pairing the Poly Voyager Office Base and Voyager Headsets
Poly (formerly Plantronics) now sells their headset and base separately. This means you will need to pair your Poly Voyager Office Base and Voyager Headset before using. The following guide will assist you in pairing your Voyager headset to the Voyager Base.
***As models are being updated and added to the series, your model may look slightly different but the procedure will be the same.***
Step 1: Connect your Voyager Office Base to power. This base lights will turn on.
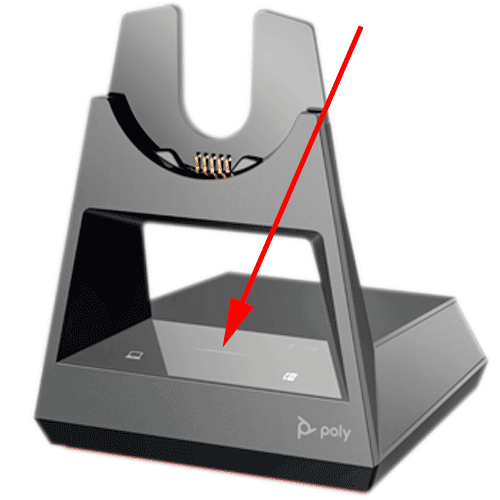
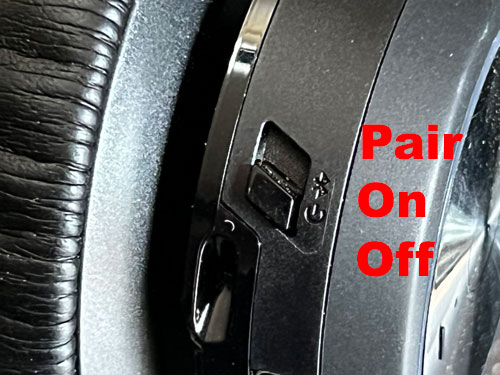
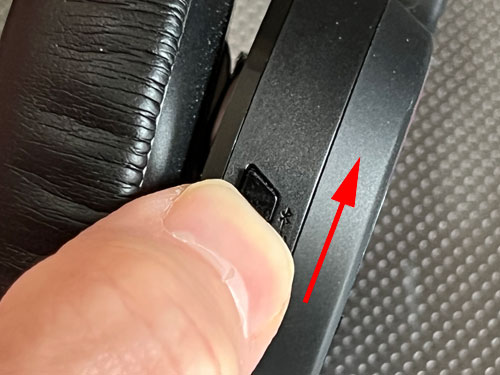
Step 2: Locate the 3-position POWER switch on the side of the speaker case. Turn your headset to the OFF position and place into the base for a minimum of 20 minutes for charging.
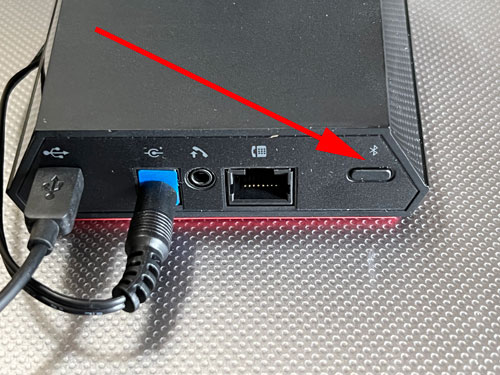
Step 3: Put the Poly Voyager Base into pairing mode by pressing the button on the back in for 2 seconds. The LED lights will flash BLUE and RED when in pairing mode.
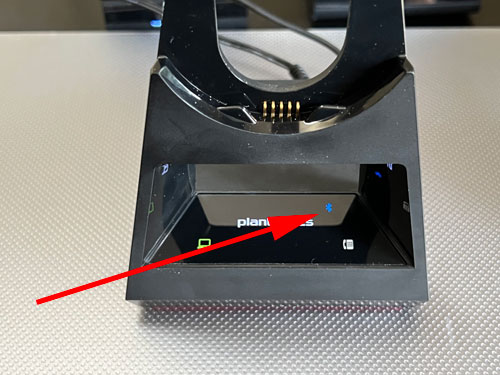
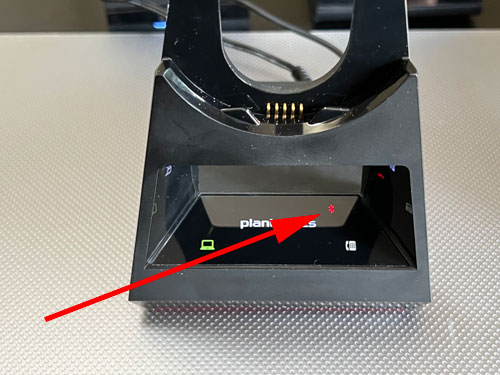
Step 4: Put the Voyager Headset into pairing mode by sliding and holding the headset POWER switch away from the off position. You will hear ‘PAIRING’ in the headset and the LED lights will flash BLUE and RED.
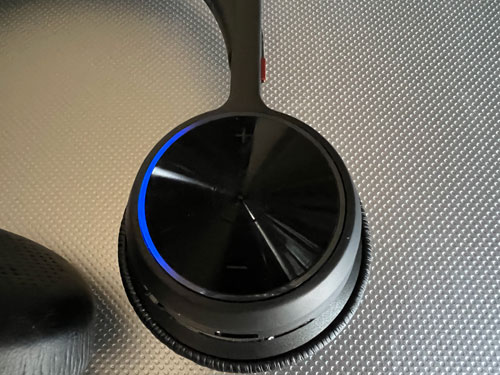
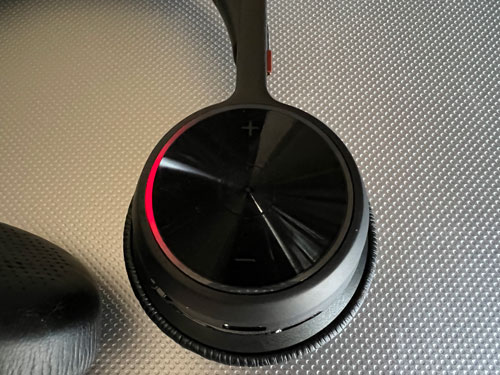
Step 5: In the headset you will hear ‘PAIRING SUCCESSFUL. BASE CONNECTED’
Your Poly Voyager Office Base and Voyager Headset should now be paired and ready for use!
We always recommend updating products to the latest firmware. Visit Poly Lens for the latest updates.
The Latest in Bluetooth Headset Solutions:
-
Original price was: $180.11.$149.43Current price is: $149.43.
Sale!
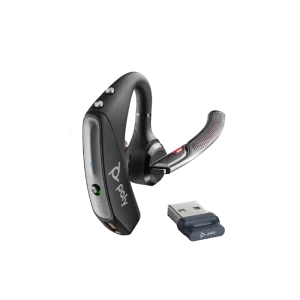 Poly Voyager 5200 UC Headset(PC + Mobile)Add to cart
-
$264.14
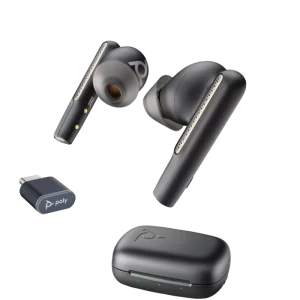 Poly Voyager Free 60 UC Wireless Earbuds(PC + Mobile)Add to cart
-
$69.99
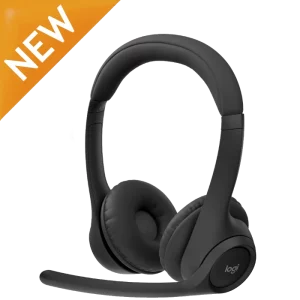 Logitech Zone 305 Wireless Native Bluetooth Headset(PC + Mobile) for TeamsAdd to cart
-
$199.95
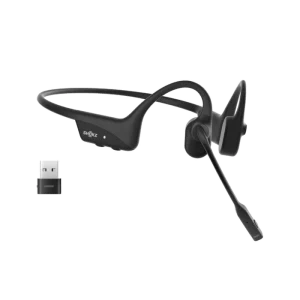 Shokz OpenComm2 UC Bone Conduction Headset(PC + Mobile)Select options
This product has multiple variants. The options may be chosen on the product page
Installation of Poly Voyager Office Base
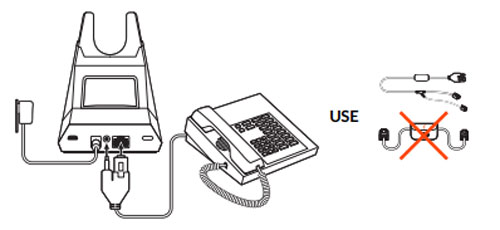
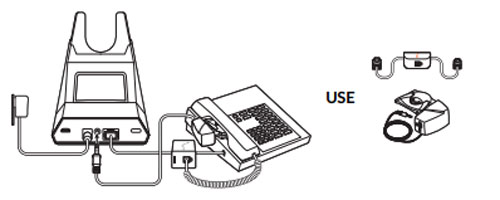
Choose below for a desk phone setup A, B, C or D and connect cables.
A) Desk phone with dedicated headset port
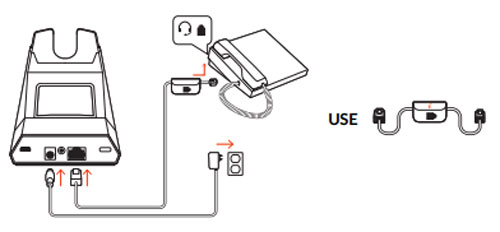
- Connect one end of the telephone interface cable to the back of the base
- Connect the other end of the telephone interface cable into the dedicated headset port on the desk phone
- IMPORTANT Cisco phones use configuration D on the bottom of the base. Most other phones use default configuration A.
- NOTE Use this setup if you are not using the HL10 lifter or EHS cable. In this configuration, press both the headset button on your desk phone and the call control button on the headset to answer or end calls.
B) Desk phone (standard)
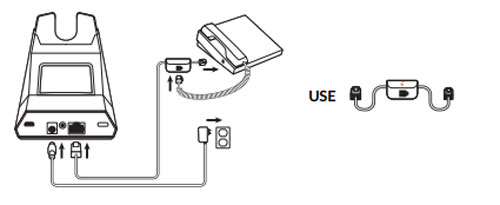
- Connect one end of the telephone interface cable to the back of the base
- Disconnect the handset coil cord from the base of the desk phone and re-connect it to the telephone interface cable junction box
- Finally connect the remaining end of the telephone interface cable into the open handset port on the desk phone
- IMPORTANT Cisco phones use configuration D on the bottom of the base. Most other phones use default configuration A.
- NOTE Use this setup if you are not using the HL10 lifter or EHS cable and your desk phone does not have a dedicated headset port. In this configuration, manually remove the handset on your desk phone and press the call control button on the headset to answer or end calls.
C) Desk phone + EHS cable (sold separately)
-
- IMPORTANT Use configuration A on the bottom of the base, which works for most phones including Cisco phones.
D) Desk phone + HL10 lifter (sold separately)
-
- IMPORTANT Cisco phones use configuration D on the bottom of the base. Most other phones use default configuration A.

-
- IMPORTANT Use configuration A on the bottom of the base, which works for most phones including Cisco phones.
D) Desk phone + HL10 lifter (sold separately)

-
- IMPORTANT Cisco phones use configuration D on the bottom of the base. Most other phones use default configuration A.

